 Continued from Assembling the Troops
Now my tanks were all assembled, I "just" needed to get them painted. Fortunately, I already knew how I was going to do this. While I'd been assembling, I'd also been trying out some painting techniques on that T-34 obr 1942 model that I'd already built (once again my foolish purchases have a positive effect). This let me establish the method I was going to use to paint my tanks:
- Basecoat with Testor's Medium Green paint
- Paint the treads black (in the future I'll skip this step)
- Paint any exposed crew and rubber wheel details black
- Paint the treads Vallejo Model Color 983 Flat Earth
- Drybrush the treads with Vallejo Model Color 863 Gunmetal Grey
- Wash the entire model in black "magic wash"
- Paint over the hull with Vallejo Model Color 894 Russian Green, leaving the wash showing in the details
- Highlight the edges and details with a 50/50 mix of white and Russian Green.
- Do any exposed crew in the appropriate colors with a brown "magic wash" over them
- Spray Testor's Gloss Cote over the model for protection
- Spray Citadel Matte Varnish for looks
- Drybrush "dirt" using Vallejo Model Color 983 Flat Earth for weathering effect (I haven't actually done this on any models other than my test model, but I still plan on doing it eventually)
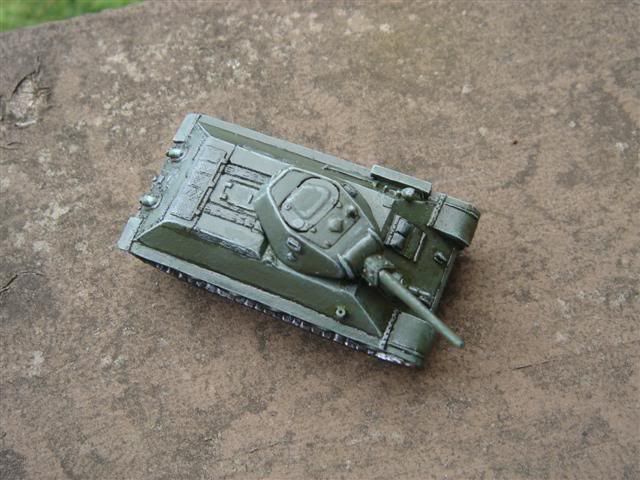
The biggest time consumer in the process was the treads. That's one reason I'm going to skip the first black coat in the future, the other is that I just don't think it's necessary.
Unfortunately, I didn't take any pics during the process of painting, but I can show the final result:
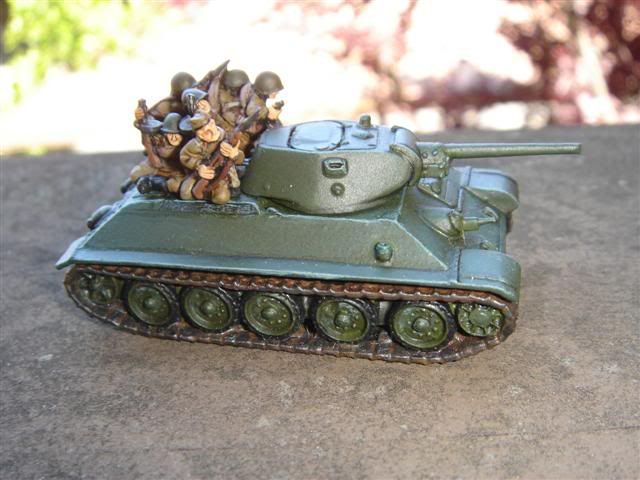
For the tankodesantniki I followed a similar process:
- Basecoat in Citadel's Black Primer
- Paint the appropriate colors using those suggested in the Stalingrad book for Flames of War
- Wash with brown "magic wash"
- Spray Testor's Gloss Cote for protection
- Spray Citadel's Matte Varnish for looks
I didn't make much effort to leave the basecoat showing as a shading effect, instead relying on the wash to achieve that. I was not completely happy with how this turned out, so when I decided to do some more infantry models I change the process just a little. That's a subject for a later post.
Continued in The Next Step

No comments:
Post a Comment